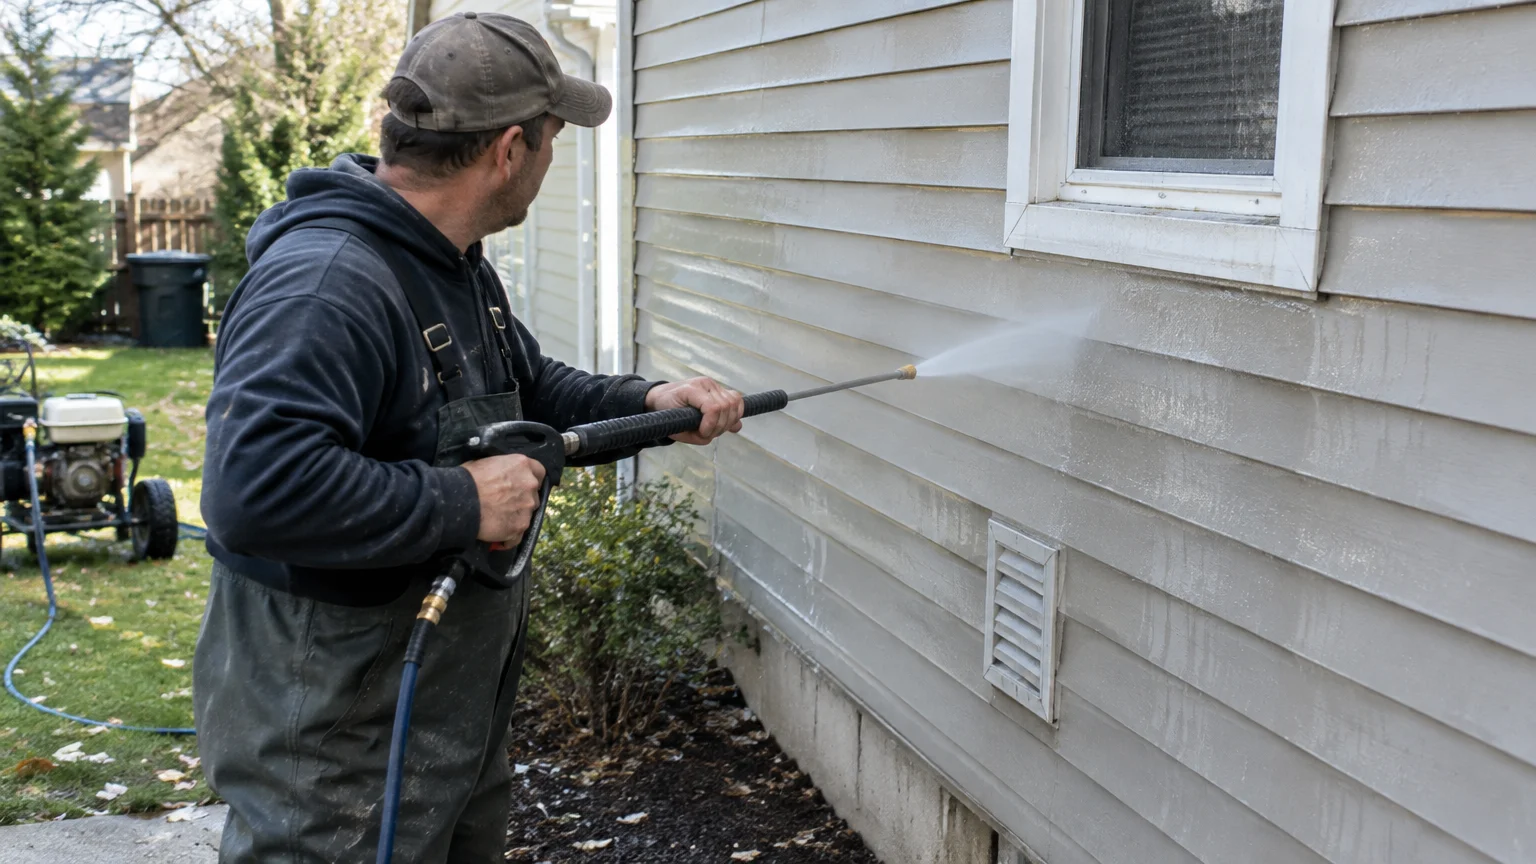
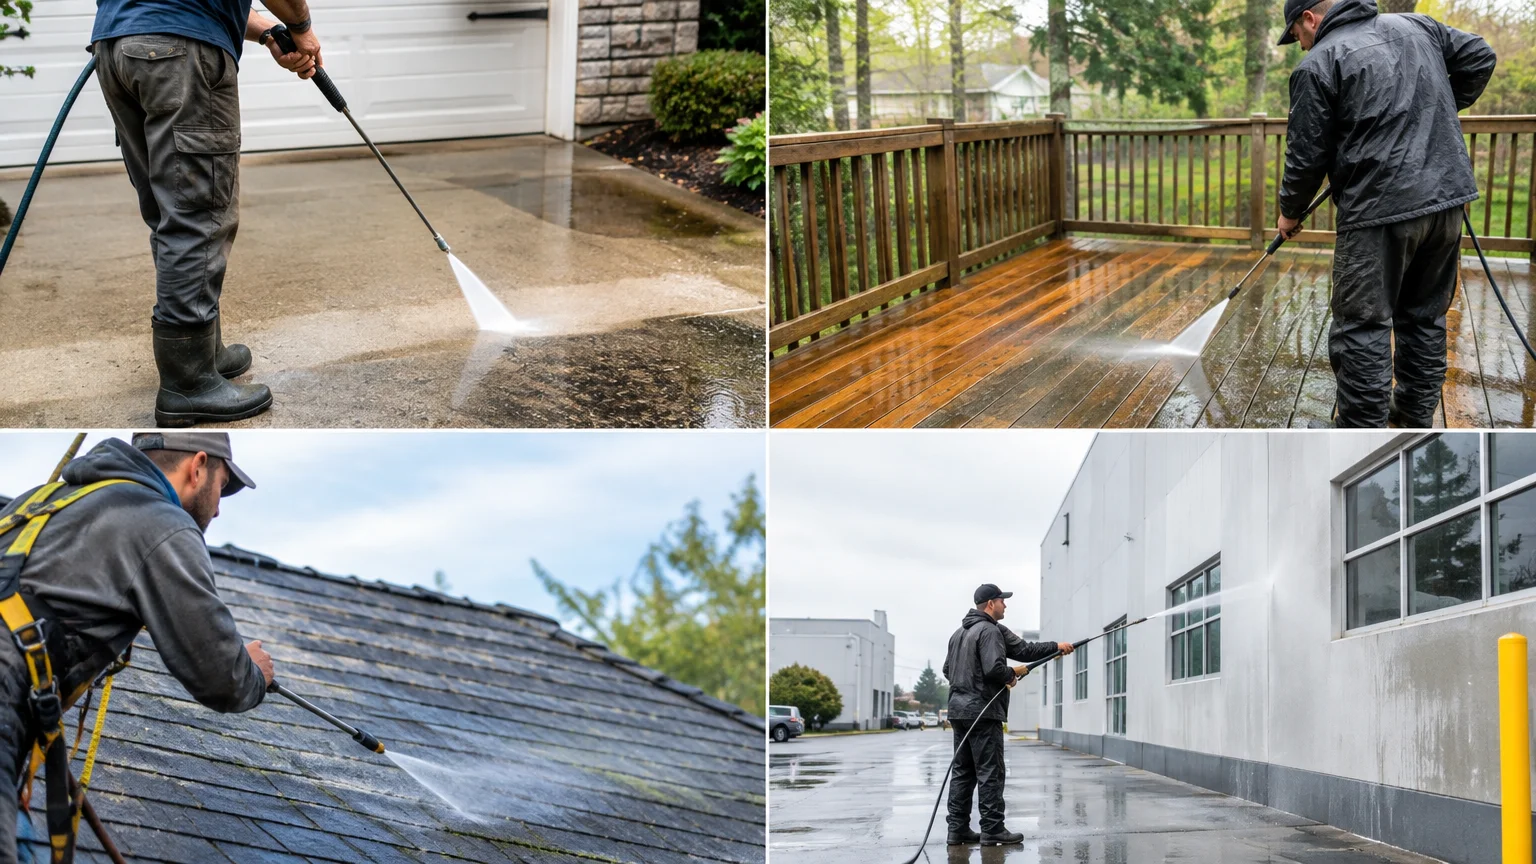
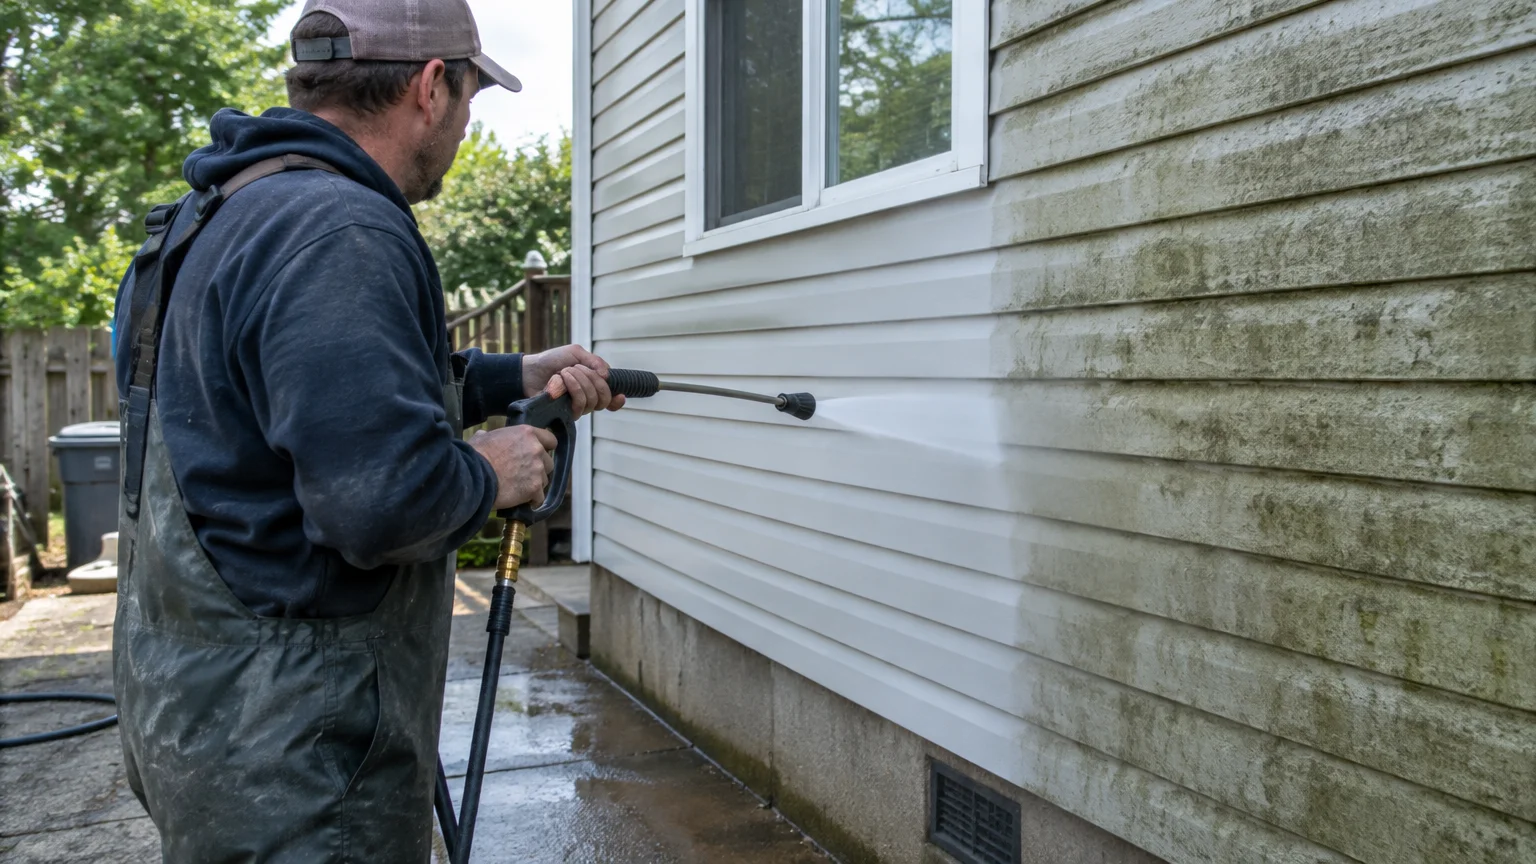
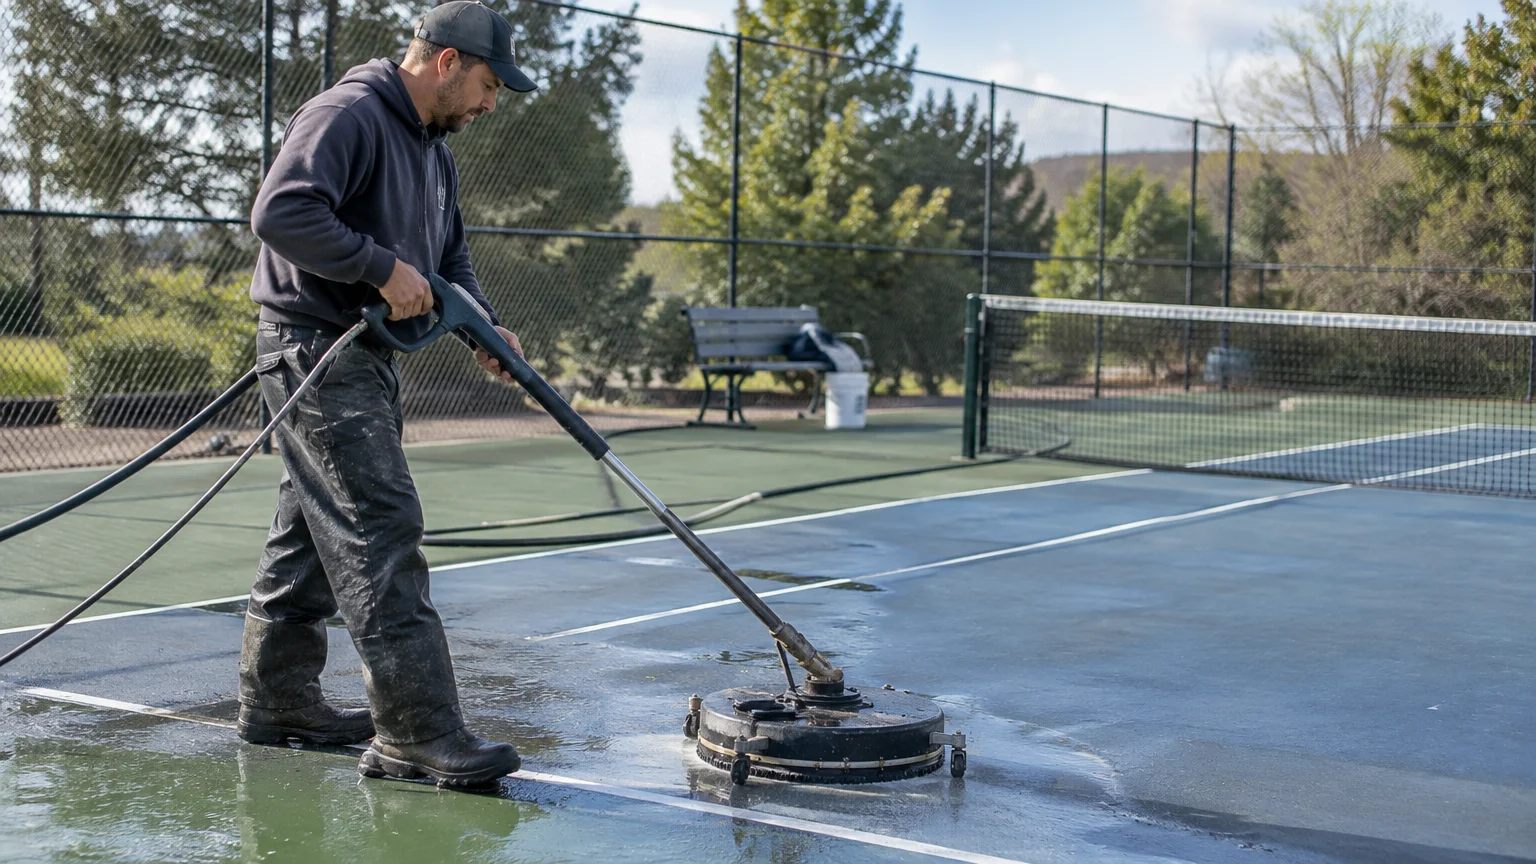
The safest way to learn how to clean pavers without power washing is to use a mild cleaner, a soft brush, and a controlled rinse. This method removes dirt and light growth while helping protect joint sand, paver color, nearby plants, and the texture of concrete or natural stone.
Table of Contents
- How can you clean pavers without power washing?
- What supplies do you need to clean pavers safely?
- How do you remove dirt, algae, and organic buildup from pavers?
- How do you remove oil stains and tough marks from pavers?
- How should you clean different types of paver materials?
- How do you restore and protect joint sand after cleaning?
- What mistakes should you avoid when cleaning pavers?
Pavers can look dull after months of dust, leaves, algae, food spills, and vehicle marks. A strong blast of water may seem like the fastest choice. Yet high pressure can wash away sand, chip edges, and leave marks that are hard to fix.
A careful plan works better. Start with a small test area. Match the cleaner to the paver and stain. Then rinse across the surface without forcing water into the joints.
Huntsville AL Pressure Washing helps property owners choose a cleaning method that fits each surface. This care also matters for patios, walkways, pool decks, and driveway pavers across Huntsville, including Downtown Huntsville, Five Points, Madison, Owens Cross Roads, Meridianville, Hampton Cove, and nearby areas.
How can you clean pavers without power washing?
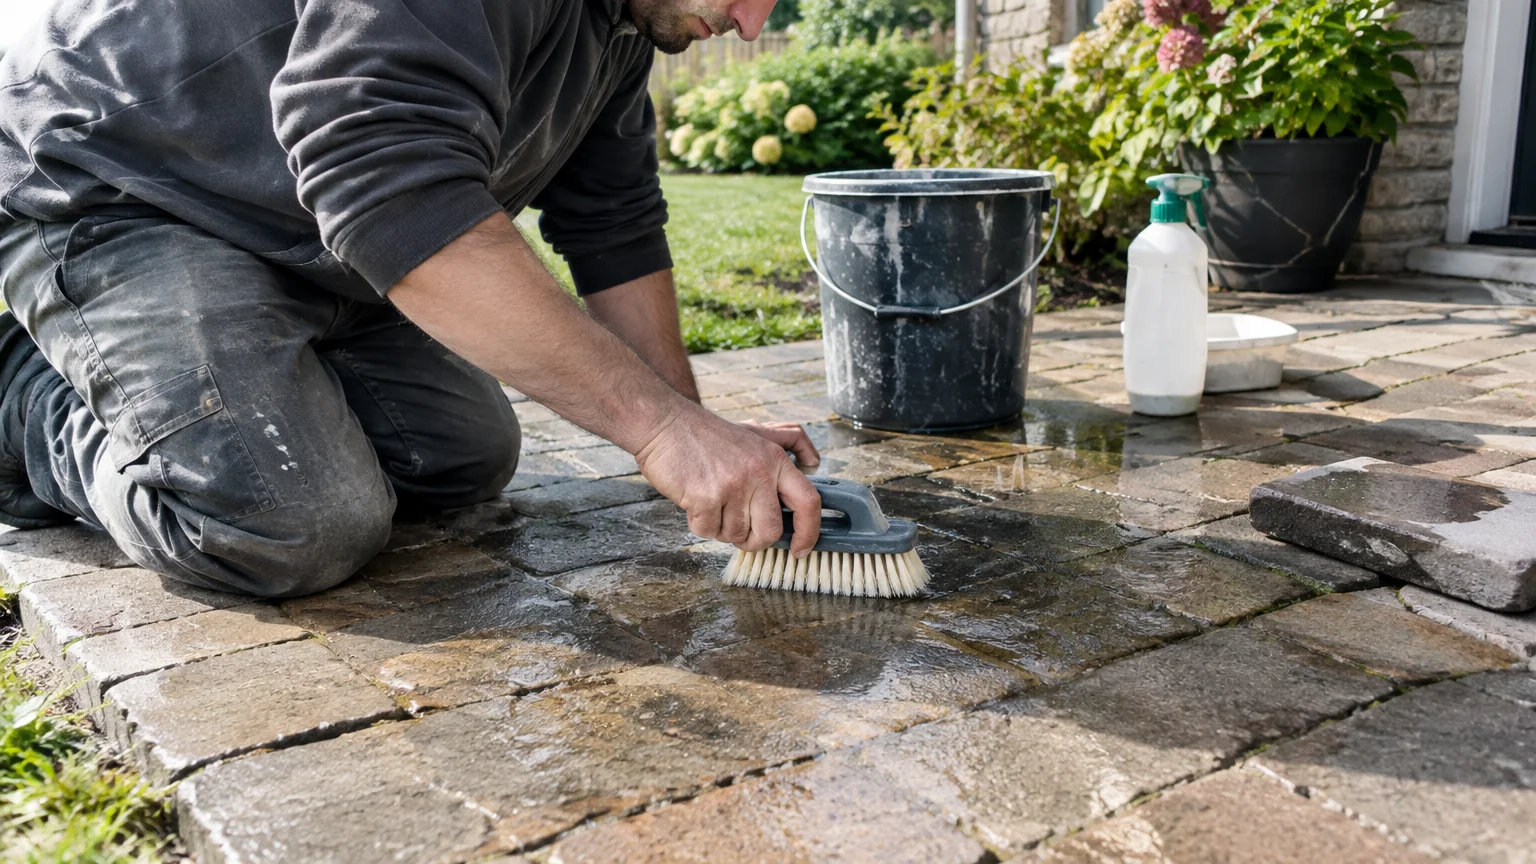
Homeowners can often clean lightly soiled pavers with a broom, mild cleaner, soft brush, and garden hose. This works well for loose dirt, pollen, light algae, and small spills. It is less useful for deep oil stains, heavy growth, or large areas with weak joints.
When gentle cleaning is safer than high-pressure washing
Power washing uses a strong stream of water to remove buildup. On pavers, that stream can move sand from between the blocks. It may also expose the base below them. Once gaps form, pavers can shift, rock, or hold more water.
Gentle cleaning uses less force. The cleaner loosens soil, and the brush lifts it away. A hose then carries the dirt toward a safe drain or lawn area. Never aim the water straight into open joints.
A homeowner does not always need a professional. Sweeping, spot cleaning, and gentle rinsing are usually safe when pavers are stable and the cleaner label gives clear directions. Professional help is better for large areas, deep stains, loose blocks, thick growth, or delicate stone.
House washing and soft washing use different methods from paver care. Do not assume a cleaner meant for siding or a roof belongs on a patio or driveway.
What to inspect before cleaning begins
Check the full area in daylight. Look for loose blocks, cracked edges, missing sand, stains, plant roots, and places where water pools. Mark damaged areas so they do not receive extra scrubbing or water.
Next, sweep away leaves and loose grit. Test the cleaner on a hidden paver. Let that spot dry before judging it. A cleaner that changes color, leaves haze, or roughens the surface is not a good match.
Also check where rinse water will go. Keep dirty water away from storm drains, ponds, and nearby property. Protect walls, doors, wood, and painted surfaces before cleaning starts.
What supplies do you need to clean pavers safely?
Safe paver cleaning needs simple tools. A stiff outdoor broom, soft hand brush, bucket, garden hose, clean water, gloves, and eye protection are good starting points. A plastic scraper can lift gum or stuck debris without cutting into the paver.
Choosing brushes, cleaners, and rinse tools
Use a broom for loose dirt and a brush with firm, flexible bristles for stuck soil. Avoid wire brushes because they can scratch some pavers and remove surface color. A narrow brush can reach small joints, but do not push it deep into the sand.
Choose a cleaner made for the paver material. Mild soap may work on fresh dirt. A product made for outdoor concrete may suit concrete pavers. Natural stone needs more care because some stones react badly to acids, strong bases, or harsh bleach.
Read the label before mixing or using a cleaner. Never mix cleaning products. Some mixtures can create harmful fumes. Wear gloves and eye protection, and keep children and pets away until the surface is rinsed and dry.
How to protect nearby plants and surfaces
Wet nearby plants before cleaning. Cover delicate plants when the label says to do so, but remove covers in hot weather. Rinse plants again if cleaner touches their leaves.
Protect painted walls, wood, metal, and outdoor furniture from splashes. Move small items away from the work area. Test the rinse direction before applying cleaner to the full surface.
Work in small sections. This keeps the cleaner from drying and makes runoff easier to control. It also lets you compare the cleaned area with the pavers you have not treated.
How do you remove dirt, algae, and organic buildup from pavers?
Sweep loose dirt away first. For algae, moss, leaf stains, and other organic buildup, apply a suitable outdoor cleaner to a small section. Let it work for the time on the label, then scrub gently and rinse with controlled water.
Applying a suitable cleaner without oversaturating the joints
Apply enough cleaner to wet the paver faces, but do not flood the joints. Too much liquid can soften or move joint sand. A pump sprayer may spread a thin layer, but its nozzle should not force cleaner into the gaps.
Keep the cleaner from drying. Work from the highest part of the surface toward the lower edge. This limits streaks and keeps dirty water from crossing areas that are already clean.
For light green growth, a gentle cleaner and patient brushing may be enough. Thick moss may need to be lifted by hand after it loosens. Do not pull roots with force if they have shifted pavers or opened joints.
Scrubbing and rinsing without disturbing joint sand
Brush across the paver surface instead of along the joints. Use short passes and light pressure. The goal is to lift buildup, not grind the paver or remove sand.
Rinse with a garden hose using a broad spray. Hold the spray at a low angle and point it across the surface. Avoid aiming straight down into the gaps. Repeat until the water runs clear and no cleaner remains.
Let the area dry before judging the result. Wet pavers often look darker than dry ones. If stains remain, repeat the mild treatment instead of using a stronger blast of water. This is often safer for pavers and joint sand.
How do you remove oil stains and tough marks from pavers?
Oil stains need a cleaner that breaks down grease without harming the paver. Blot fresh spots with an absorbent material before cleaning. Older marks may need several mild treatments because oil can move below the surface.
Matching stain treatment to the type of mark
Start by identifying the mark. Oil and grease often leave a dark patch. Rust may leave an orange stain. Food, leaves, and soil often create brown or green marks. Paint, gum, and tar may need a scraper or a cleaner made for that material.
Use an oil-absorbing product for a fresh vehicle spot when the label allows it. Remove the used material carefully and place it in a suitable container. Then apply a paver-safe degreaser as directed.
Rust removers need extra care. Some contain acids that can lighten concrete or harm natural stone. Never assume a cleaner safe for a driveway is safe for every paver. Always test a hidden area first.
When repeated treatment is safer than aggressive scrubbing
Deep stains rarely disappear after one pass. Repeating a suitable treatment can be safer than hard pressure or a harsh chemical. Let pavers dry between treatments so the result is easier to see.
Do not scrub oil stains with a wire brush. It may scratch the surface and spread the mark. Do not use a strong solvent near plants, painted walls, or sealed surfaces unless the label clearly permits it.
If a stain covers a large area, reaches deep into the paver, or returns after cleaning, professional help may be wise. A trained technician can check the material and choose a method that limits damage.
How should you clean different types of paver materials?
Paver material changes the safest cleaning plan. Concrete pavers can often handle mild outdoor cleaners and careful brushing. Natural stone needs a closer look because its color, pores, and finish differ by stone type.
Concrete pavers versus natural stone
Concrete pavers are made from cement, aggregate, and color pigments. Their surface can lose color from harsh chemicals, strong impact, or rough cleaning. A mild product made for concrete is usually a better starting point.
Natural stone may include flagstone, slate, limestone, or travertine. Each type has its own limits. Some stones absorb water quickly. Some scratch easily. Others can react with acidic cleaners.
When the stone type is unknown, use water and a soft brush first. Test any product in a hidden area. A stone supplier or qualified cleaning professional can help identify a risky cleaner before it reaches the whole patio.
Why some cleaners can damage color or surface texture
A cleaner may remove dirt while changing the surface. Strong chemicals can fade pigments, leave a pale film, or make the finish look uneven. A rough brush can make small scratches that hold more dirt later.
Sealed pavers need another test. Some cleaners can soften or cloud a sealer. Read the sealer care instructions when available. If the surface looks glossy, dark, or water-repelling, avoid cleaners not approved for sealed pavers.
The same care applies to driveway cleaning services, patio cleaning services, and pool deck cleaning. Material, stain type, drainage, and joint condition should guide the method. Huntsville AL Pressure Washing can help property owners decide whether gentle home cleaning or professional paver care makes more sense.
How do you restore and protect joint sand after cleaning?
After cleaning, let the pavers dry fully and inspect every joint. Missing or low sand should be replaced with compatible joint sand. The joints must be stable before applying sealer.
Replacing missing sand and checking joint stability
Sweep clean, dry sand across the surface with a soft broom. Guide it into the gaps without packing sand onto walls or plants. Stop when the joints reach the proper level for the paver system.
Do not add sand over mud, standing water, or active weeds. The joints should be clean and dry first. If pavers move underfoot or large gaps keep opening, the base may need repair before new sand is added.
Some projects use polymeric sand. This is joint sand with a binder that helps it harden after proper wetting. It must be installed and watered exactly as the label says. Too much water can wash the binder away.
When paver sealing is appropriate
Paver sealer is a coating or treatment that helps limit water entry, staining, and surface wear. It does not fix loose pavers or replace missing base material. The surface must be clean, dry, and stable before sealing.
Sealer choice depends on the paver material, finish, exposure, and desired look. A breathable sealer may suit one surface better than a film-forming product. Some products darken color, while others leave a more natural look.
Sealing is not always needed after each cleaning. Follow the paver maker’s care advice and test the product first. Professional paver cleaning and sealing may be safer when the area is large, joint sand is weak, or the finish matters greatly.
What mistakes should you avoid when cleaning pavers?
The most common mistakes are using too much force, choosing the wrong cleaner, and rushing the rinse. These errors can strip joint sand, fade color, create streaks, or move stains deeper into the surface.
Common causes of stripped sand and surface damage
Avoid aiming a narrow spray into the joints. Do not use a wire brush on unknown materials. Do not let strong cleaner dry on pavers. Do not mix products, and do not skip the hidden-area test.
It is also a mistake to clean without checking drainage. Dirty water can flow toward doors, garages, storm drains, or neighboring yards. Keep the work area controlled and stop if runoff cannot be managed safely.
Pause when pavers shift, cracks widen, water pools, or stains spread. These signs may point to a base problem rather than a simple cleaning need. More scrubbing can make the repair harder.
When professional paver cleaning and sealing is the safer choice
Professional help makes sense for wide hardscapes, heavy oil marks, thick biological growth, delicate natural stone, unstable joints, or pavers that need sealing. It may also help property managers who need one method across several walkways, patios, or driveways.
A qualified team should inspect the material before choosing pressure, cleaner, and sealer. The plan should protect plants, walls, drains, and nearby surfaces. It should also explain what to expect from stain treatment, rinsing, drying, and joint repair.
Key takeaways
- Start with sweeping, a small test area, and a paver-safe cleaner.
- Use a soft brush and broad rinse instead of forcing water into joints.
- Treat oil, rust, algae, and paint with different products.
- Replace missing joint sand only after the surface is clean and dry.
- Seal pavers only when the material and joint condition support it.
Frequently Asked Questions
Can pavers be cleaned with only soap and water?
Soap and water may remove fresh dirt, dust, and light spills. They may not remove deep oil, rust, algae, or old organic stains. The soap must be mild and suitable for outdoor surfaces. A small test area helps prevent haze, color change, or damage to the finish.
Will cleaning pavers remove the sand between them?
Gentle brushing and a controlled hose rinse usually limit sand loss. Strong pressure, a narrow spray, or water aimed straight into the joints can remove it. After cleaning, check the joints and refill them when needed. Missing sand can let pavers shift or collect more water.
Can bleach be used on concrete pavers?
Bleach may change color, harm plants, and damage nearby materials if used carelessly. It may also affect sealers or natural stone. Use only a product labeled for the specific surface and follow every safety direction. A paver-safe cleaner is often the better first choice.
How often should pavers be cleaned?
Cleaning should follow the surface condition, shade, drainage, traffic, and nearby trees. Sweep as needed, and deep clean when buildup becomes visible or slippery. Regular light care is better than waiting until thick growth or heavy stains require rough treatment.
Is sealing required after cleaning pavers?
Sealing is not required for every paver area. It may help limit staining and protect the joint system when the material, sealer, and installation match. The pavers must be clean, dry, and stable first. A professional can help when the stone type or old sealer is unknown.
Conclusion
Cleaning pavers without stripping joint sand calls for patience and control. Sweep first, test the cleaner, work in small sections, brush gently, and rinse across the surface. When stains are deep or joints are unstable, stronger methods may cause more harm than good.
For homeowners and property owners, Huntsville AL Pressure Washing can assess pavers before cleaning or sealing. Contact us to discuss a safe plan for your hardscape.